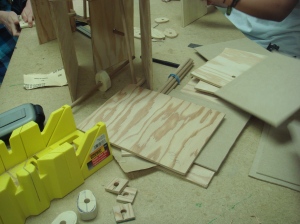
To start, let me inform you that this was our very first time that my partner and I used woodworking machines and in the end, our creation came out successfully well. During the first few classes, we had some difficulties in getting adapted to the different types of machines and tools. Nevertheless after some time we became at ease with them. It looked like this:

Before
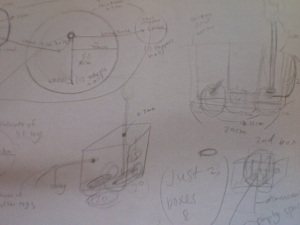
Once we chose our main idea we then had to come up with a conceptual sketch of the object. This is what it resembled: 
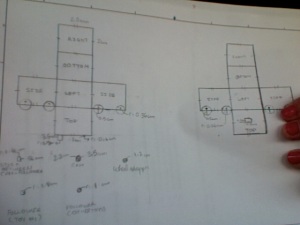
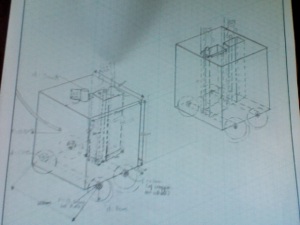
Next task was to draw our technical drawings: one that was orthographic and the other isometric. This particular part was very complex since our toy was made up of two carts and therefore, we basically had to draw, focus and work twice as much since other groups had only one object to concentrate with. We put in a lot of effort and quite some time to complete this work. Here they are:


Next followed the most difficult part of the project: building the toy. The first two building workshops, we cut out the pieces of wood for the train. Next we measured them correctly, and began gluing the parts together. Afterwards, we needed to build all the cams and followers so that our toys would pop up and down, as the train would move forward. After this, we needed wheels in order to complete the whole train. I went to buy some wheels at a hardware store where they specifically specialize in woodwork.
To our surprise, the wheels fit on the train but the cam did not fit in the wheel. Therefore, we had to make a bigger hole in the wheel so that it would fit. Having done this for all the wheels, we glued almost the whole thing together and tested it out to see if it worked. But, unfortunately, the wheels were to small and the toys barely went up and down. Therefore, we had to use our last solution of building the wheels ourselves. We found a small cup that had a bigger diameter than our initial wheels. We measured them on the wood and started to cut them out.
For some odd reason, I was somehow slow compared to my partner who did about 5 wheels in one hour whereas I only did about 3. Thanks to our hard work, we achieved to finish them in one period. After having this done, we once again tested them out. This time they were too big and the wheels touched one another. So, we had to re-make all 8 wheels once again. But this time, decided to make one wheel at a time, to see if it worked out or not. This would’ve saved us so much time had done this to begin with. We began cutting our first wheel a tad smaller. We placed it on our train and then cut the second one the same size. Luckily, this time the wheels did not touch and they moved perfectly! This was so satisfying because this was the hardest part. If the wheels worked, this means that the cams and followers would work as well, making the toys go up and down.
So, we glued our wheels onto the axles. Then, to our surprise the toy worked and moved perfectly. However, the cams only moved up and down on the first few wheel rotations. We tried to figure out the problem. The trouble was that the flat pieces under the followers were too tiny. We therefore added one or two extra small pieces of wood so that it would make contact with the cam and would therefore go up and down. We did the same thing for the other cams and followers. Once again, we tested everything out but they still only went up and down on the first few rotations. After observing and paying close attention to what was happening, we realized that the followers would slip off the cam, in both carts and in the second cart it would hit the other cam behind it. So, I came up with a brilliant idea, which solved our problem.
I proposed that we put a kind of wall / barrier so that the cams don’t slip off or hit the cams behind it. I was pretty sure that this idea was going to work out. We began to build our barrier the same height as the train, but less wide in length. We glued two of them: one in the first cart and one in between both cams and followers in the second cart. We tested this out and it worked. We achieved in building the train. Our final touch was to make a whole in front of the first cart. In this whole, we placed a tight string and tied 2 knots inside and out. Now, we finally glued the carts all together.
At last, we added some creativity and decoration to our masterpiece. We cut out about more than half of our train size on another piece of wood. We then cut 5 small pieces and used this to make it look like a real train. We glued and attached this right underneath the rope on the first cart. Finally, we decided to paint our carts to give it a cool look. Our last step was to attach both carts together. We measured and drilled two holes: one on the back of the first cart and one on the front of the second cart. We made knots on both sides of the strings and put them through both holes. The teddy bears that we bought didn’t turn out to work well, because it absorbed the movement of the cam and followers so we replaced them with bears made with wood.
